Rulesets
A Ruleset component allows you to create an email where certain sections can dynamically show different content to each recipient based on information we know about them. This helps to provide them with a more personalised experience when reading your emails, which should help with engagement.
How it Works
Using the HTML Editor, it is possible to set up a section within your email which has many variations. Each variation contains a set of criteria and a block of content. When the email is sent, each variation is checked in turn and if the recipient matches the criteria set then the content for that variation will be included for that recipient.
If the recipient doesn't match any of the criteria set for any of the variations then the default one will be sent to them.
In our example we are going to be using this idea to match different cities to different groups of recipients based on what we know about their location. Starting with the design below we will be adding 'location' sections which will include different content towards each recipient based on the information stored in the profile fields.
Preparation
Before we start working with a ruleset it is necessary to map our data with Profiles & Profile Fields. In our example we will match the profile field 'Location' with the recipient's declared city.

Now that we have our data prepared we can start working with rulesets. Rulesets works best in conjunction with snippets which is why we will use them in our example.
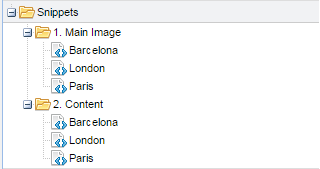
What we have prepared are six Snippets divided into two groups:
- Main Image
- Content
Each group contains the Barcelona, London and Paris snippets.
Creating a Ruleset
Rulesets are created in the Content section of the Navigation Bar.
In our example we will create two rulesets:
- Main Image
- Content
Both rulesets will include instructions that will change the displayed content according to the data stored in the profile fields.
Adding Rules
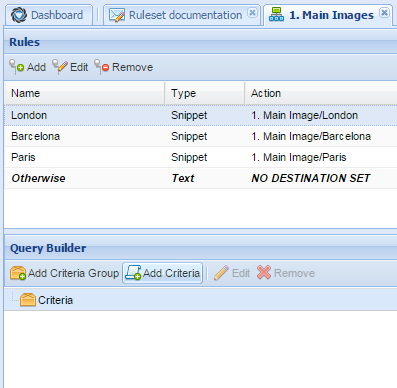
With our rulesets created we now need to create rules to start it working. Simply click on the Add button located at the top of the ruleset tab.
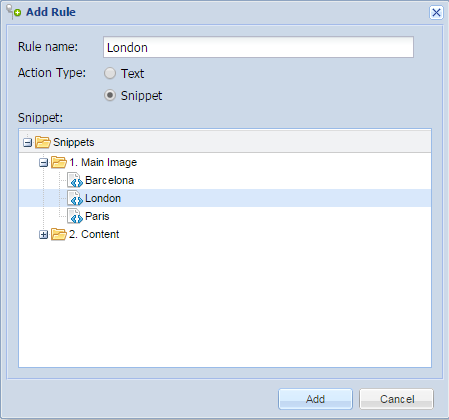
In the newly opened window we need to create a new rule which will display the image of London. To do that we need to name our rule, select Action Type 'Snippet' and select the London snippet. Click the Add button to create the rule.
Follow the same process for the Barcelona and Paris rules.
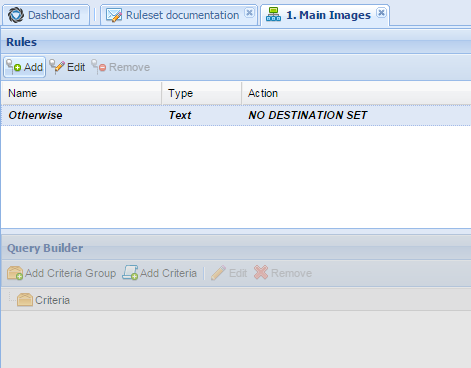
Before we move any further we need to create a fallback in case there is a recipient with a value in the profile field which doesn't match any of our rules (including being blank). To do that we need to edit the pre-created Otherwise rule. This rule is automatically created when you open a new ruleset.
Editing the Otherwise rule allows us to decide whether we want it to display a snippet or a text. For the purposes of this demonstration we will select Text. In the text box below we need to create the content that will be displayed when the recipient's 'Location' profile field is either empty or contains a value which is not accounted for in your other rules.
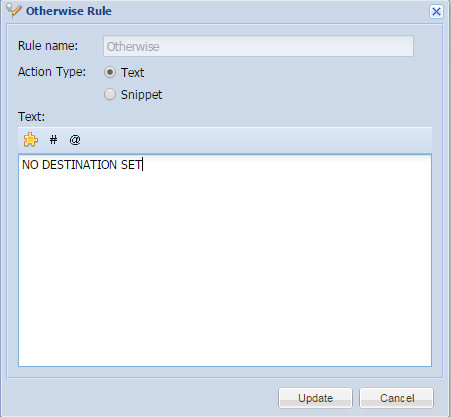
FallbackIn our example the text message states 'NO DESTINATION SET'. However you can create any text you want. You can even personalise it using profile fields as in other areas of the platform. Notice the profile field button at the top of the dialogue.
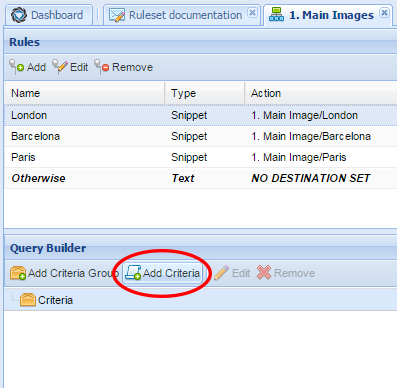
Adding Criteria
Once we have created the rules we will need to set criteria for each one. This will give Maxemail the ability to display the appropriate snippet for each individual recipient. Click on the rule we previously created to highlight it and then click on the Add Criteria button.
In the pop-up window we need to select the Location profile field and set Equal to and type in London (not case sensitive). Once the ruleset is added to the email content it will insert the correct snippet of content displaying the London snippets for all recipients who have 'London' stored as a value in their profile field.
Confirm the criteria by clicking on the Add button. Then follow the same process to create criteria for the Paris and Barcelona rules.
More complex criteriaThis is a fairly simple scenario for this demonstration but if your selection needs to be more complex then it is entirely possible to add multiple criteria for each rule. For example the London images could be set to only be shown to recipients who have London in their Location profile, who have an age of greater than 18 and who have at lease one child. (All of these values would need to be stored in profile fields in order to create criteria against them).
Once all rules and criteria are created don't forget to click that Save button to keep what we have done.
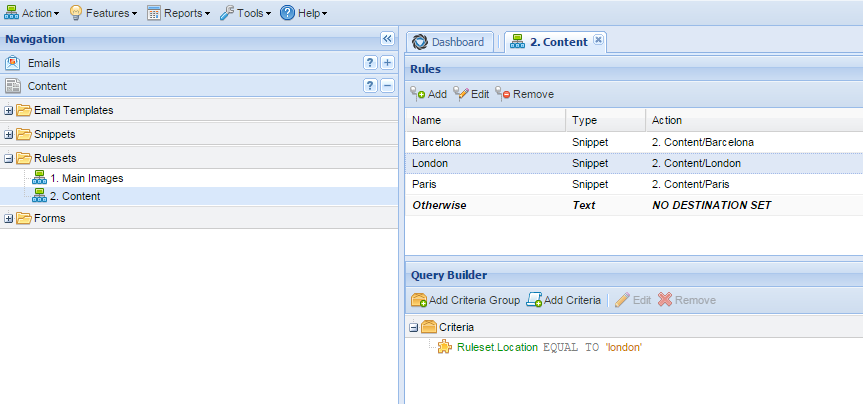
Multiple Rulesets in an Email
It is possible to show different sets of dynamic content in a single email. For example you may show the same London section to both single men and those with families but might want to include different trip dates depending on whether they need to consider the school holidays. For this example we will follow exactly the same process for our Content ruleset but this time we will create rules using the snippets located in the Content folder.
With the rulesets created, we can now insert them into our email campaign.
Inserting Rulesets into an Email Campaign
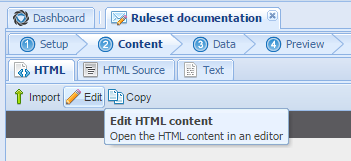
Open your email and navigate to the Content tab. Here we need to click on the pencil icon to access the HTML Editor.
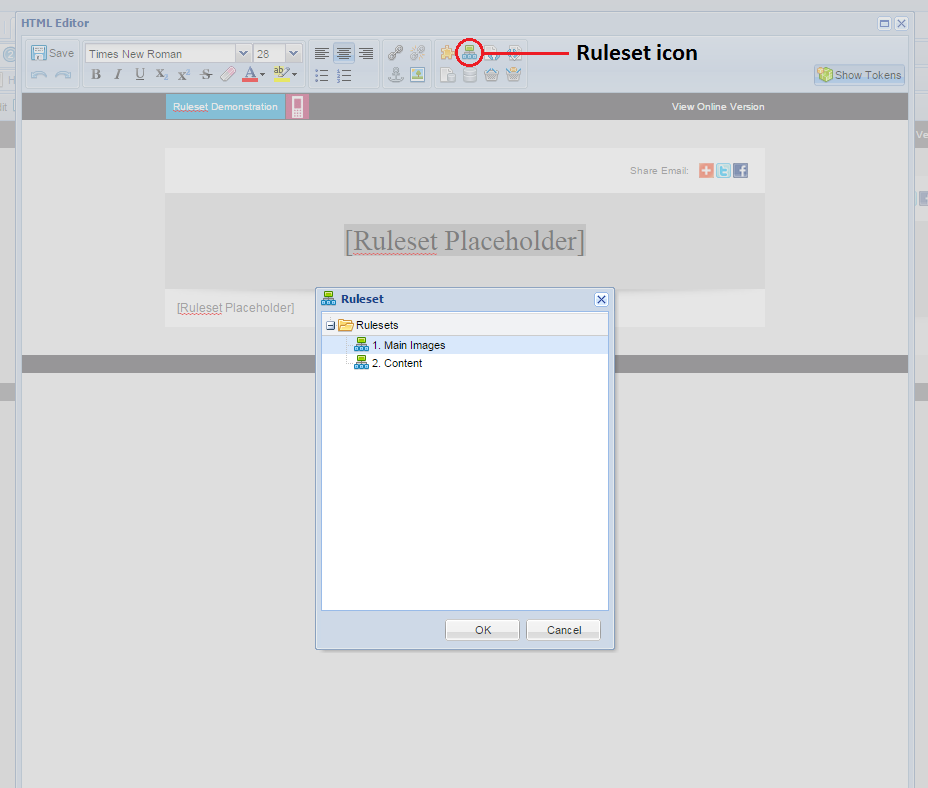
In the HTML Editor place the cursor where you wish to insert the ruleset. Click on the Ruleset icon in the top right corner to bring up the ruleset dialogue. From here we can see every ruleset in our account.
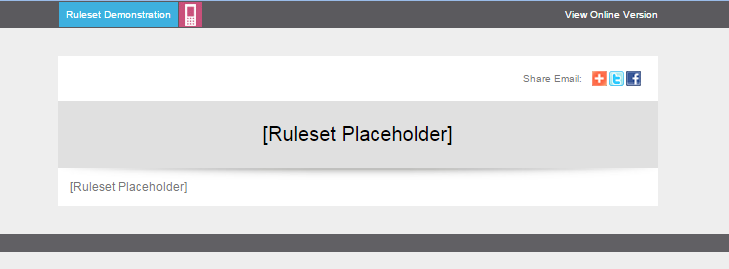
In our example we will place the Main Images ruleset into the top Placeholder and the Content ruleset into the bottom one. To apply our changes we again need to click on the Save button.
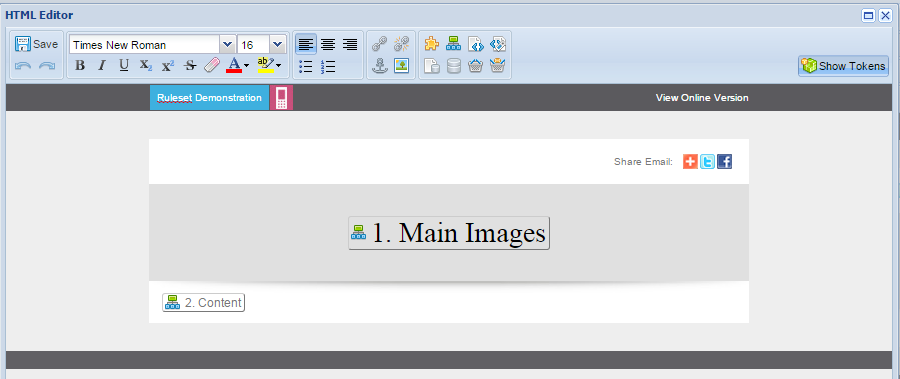
Our template will now look similar to the image above. As you can see the content of the ruleset was not copied into the email campaign. Instead the two merge tokens were placed. Tokens inform us that content is still linked from an external location and gives us the ability to update rulesets without updating them separately in every email campaign.
Final Preview
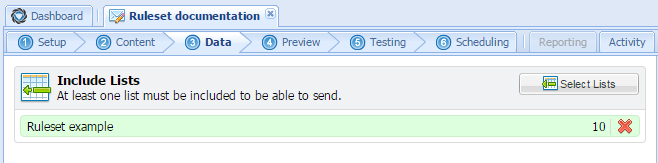
To see the results of our work we need to go to the Preview tab located in the email campaign wizard but before going there we need to attach an Include List with the recipient's data in the Data tab.
Once we have done that we can move to the Preview tab. Here we can select the profile fields that are used during the list import. We can do that by clicking on the yellow jigsaw icon located just below the recipient's email addresses.
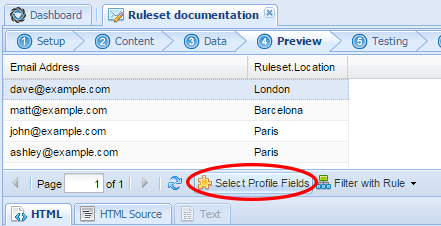
In our example we will select the Location profile field.
Clicking on the email recipient we can see the results of our work. As we can click through each email address we can see if the ruleset variations work as intended.
Final Example
