Scheduling
Once a campaign is tested and ready to send it can be scheduled on the Scheduling tab
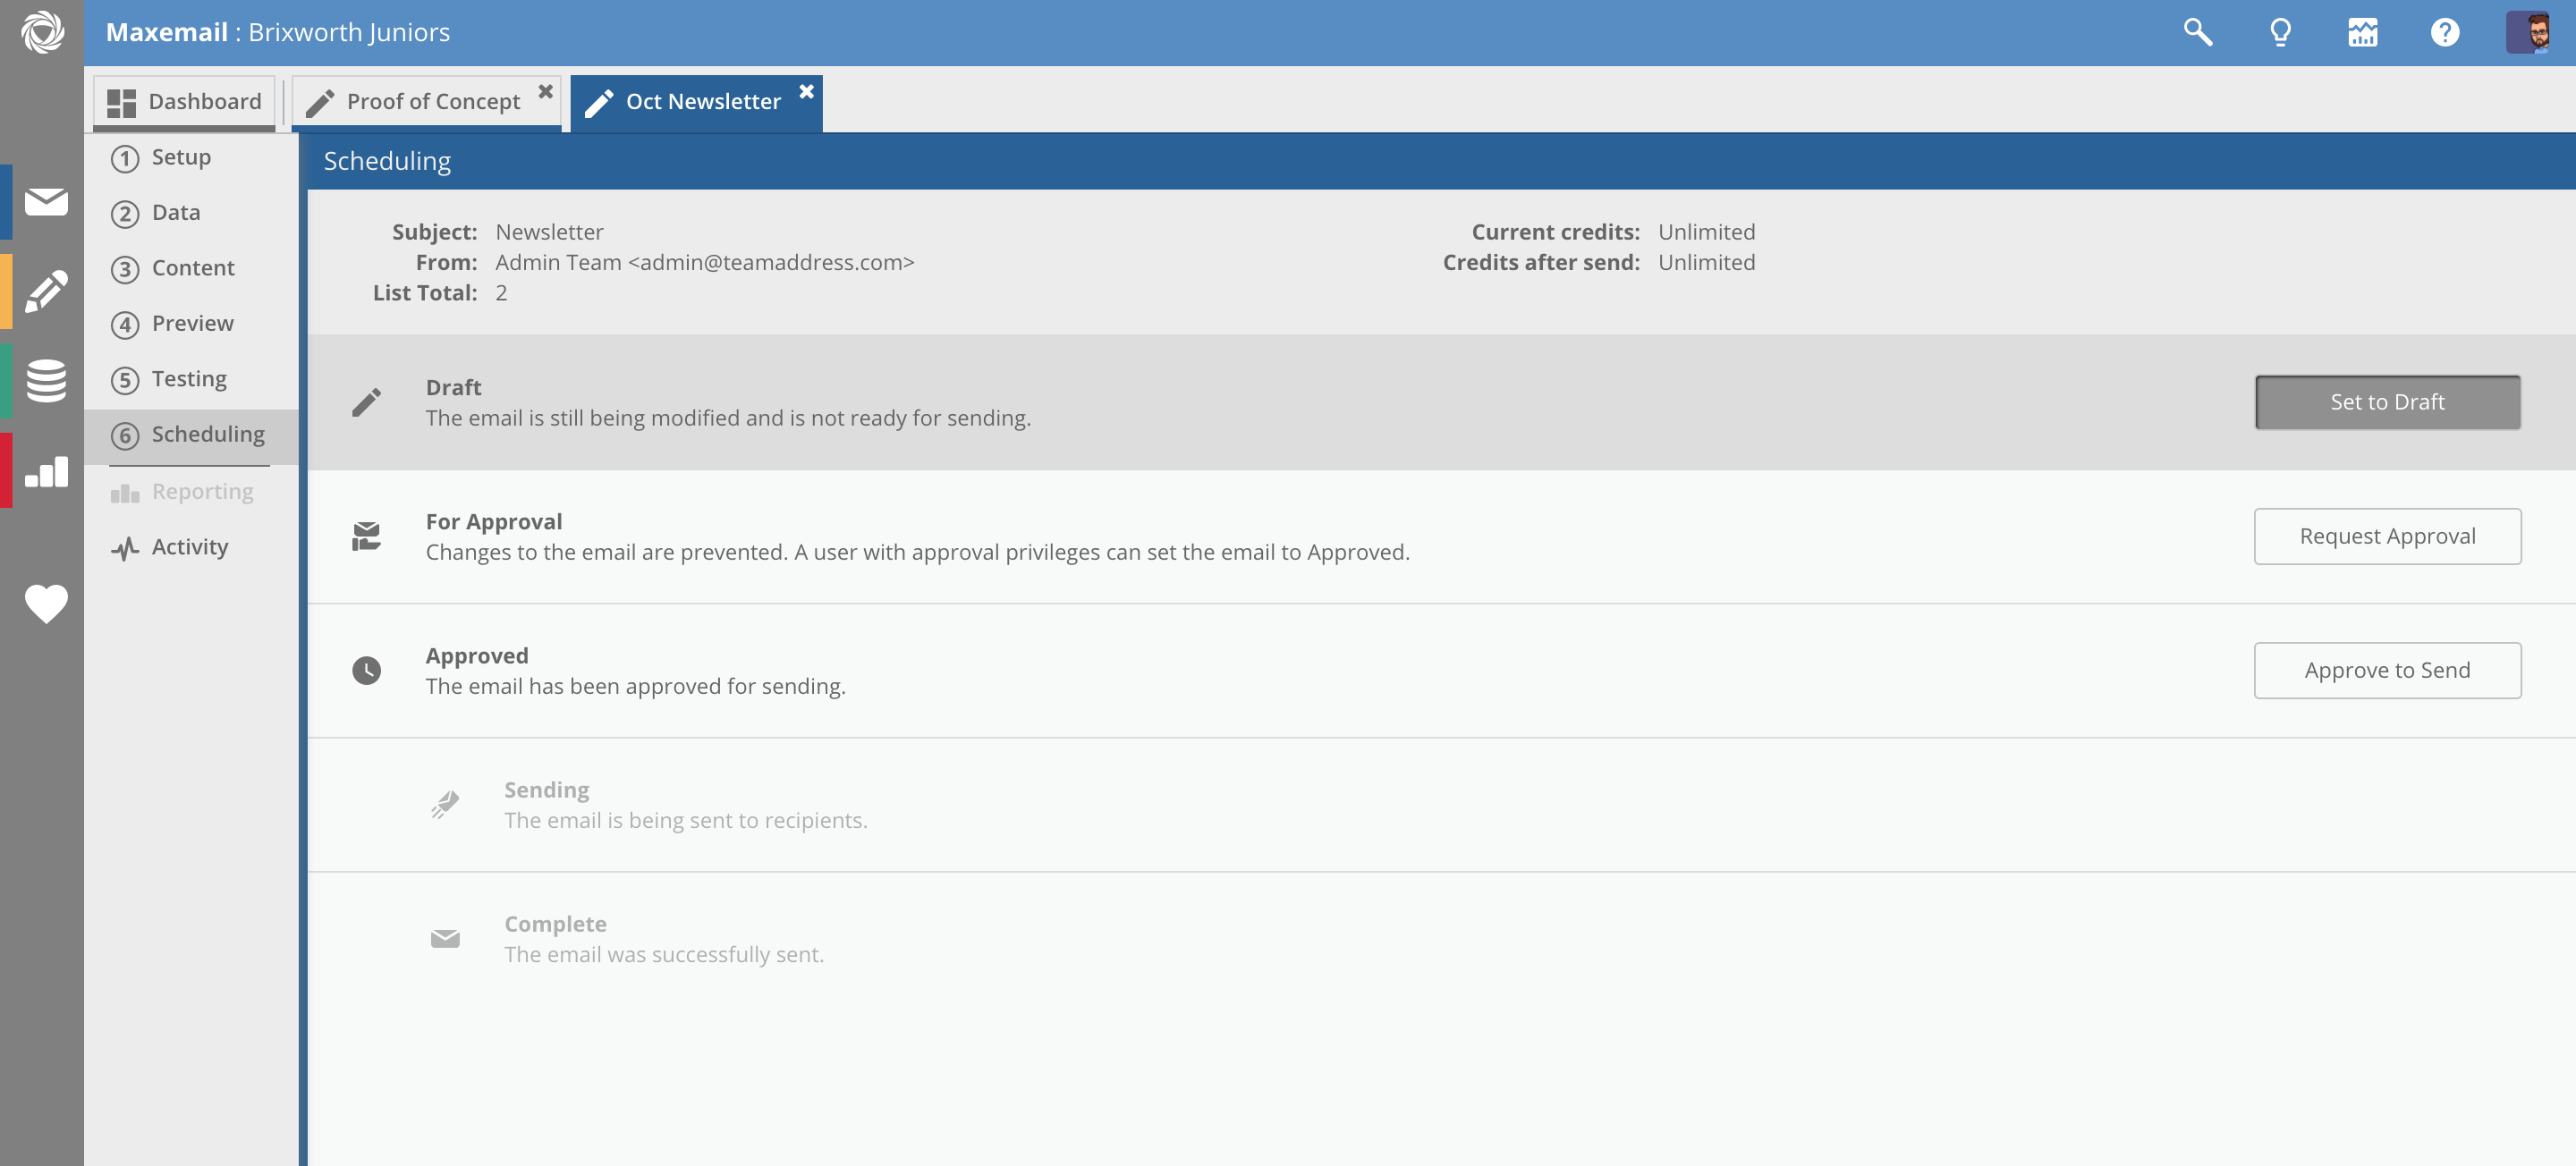
Clicking any of the buttons against a status will set it to that status so long as the current user has the permission to do so.
For Approval
If the current user does not have sending permissions (or simply wants to have someone else check the campaign before sending).
Click Request Approval to view the following blind from the right.
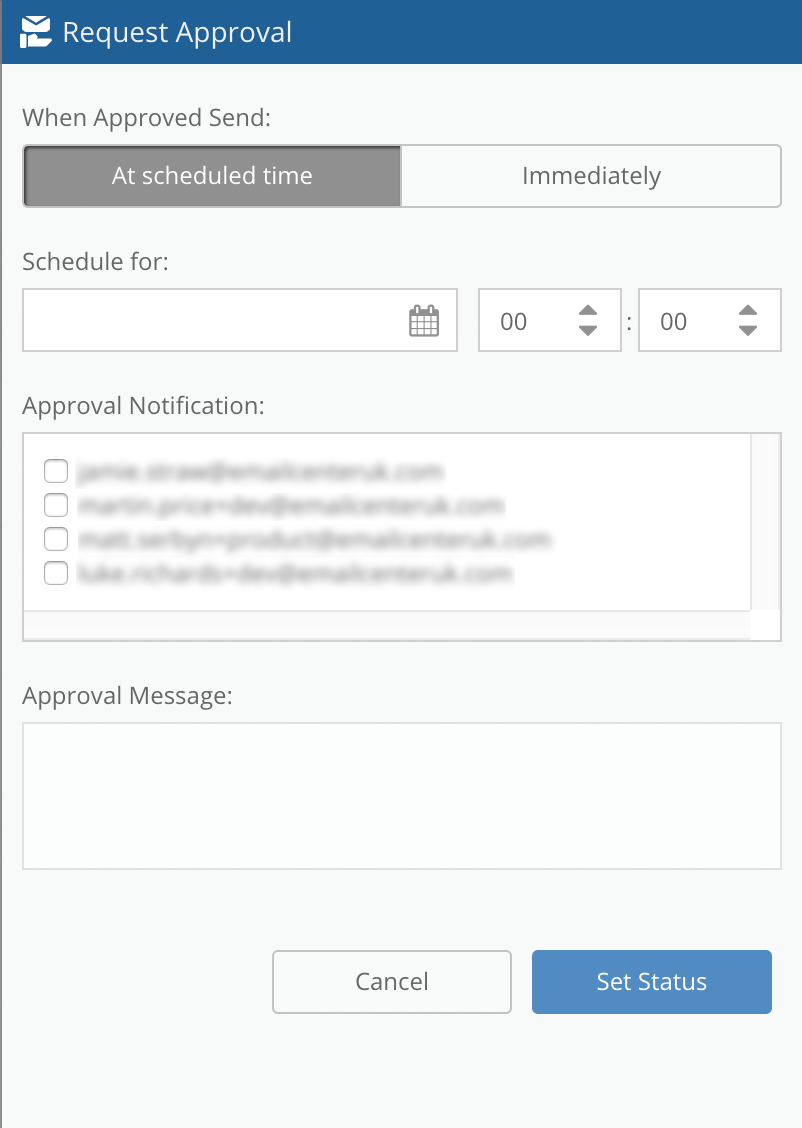
Select the date/time the email should be sent once approved, as well as the email address of the Maxemail user(s) to approve.
Filtered usersThe list of Users available to select will only contain those who have approval permissions.
Approve to Send
Users with approval permissions can select this option to approve the email for sending.
Clicking Approve to Send brings up the following blind with options to set the date/time of send, as well as whether a report should be emailed to you after a set amount to time following the send. To add more recipients to the report, or to set up a report across multiple emails, use Scheduled email reports.
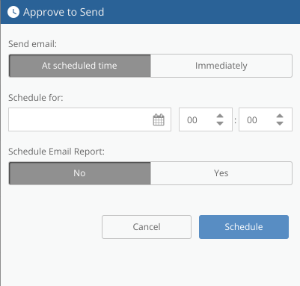
Any email set to Approved can be set back to draft up to the scheduled time of send.
TimezoneMessages are scheduled in the timezone set in your user account. It's important this is correctly set to avoid scheduling mistakes.
Maxemail will warn on login if the user's timezone doesn't match their own computer.
Updated 11 months ago