Setup
Step 1 of building your email campaign is the general setup.
This is further split into a few sub tabs, each with their own options to complete.
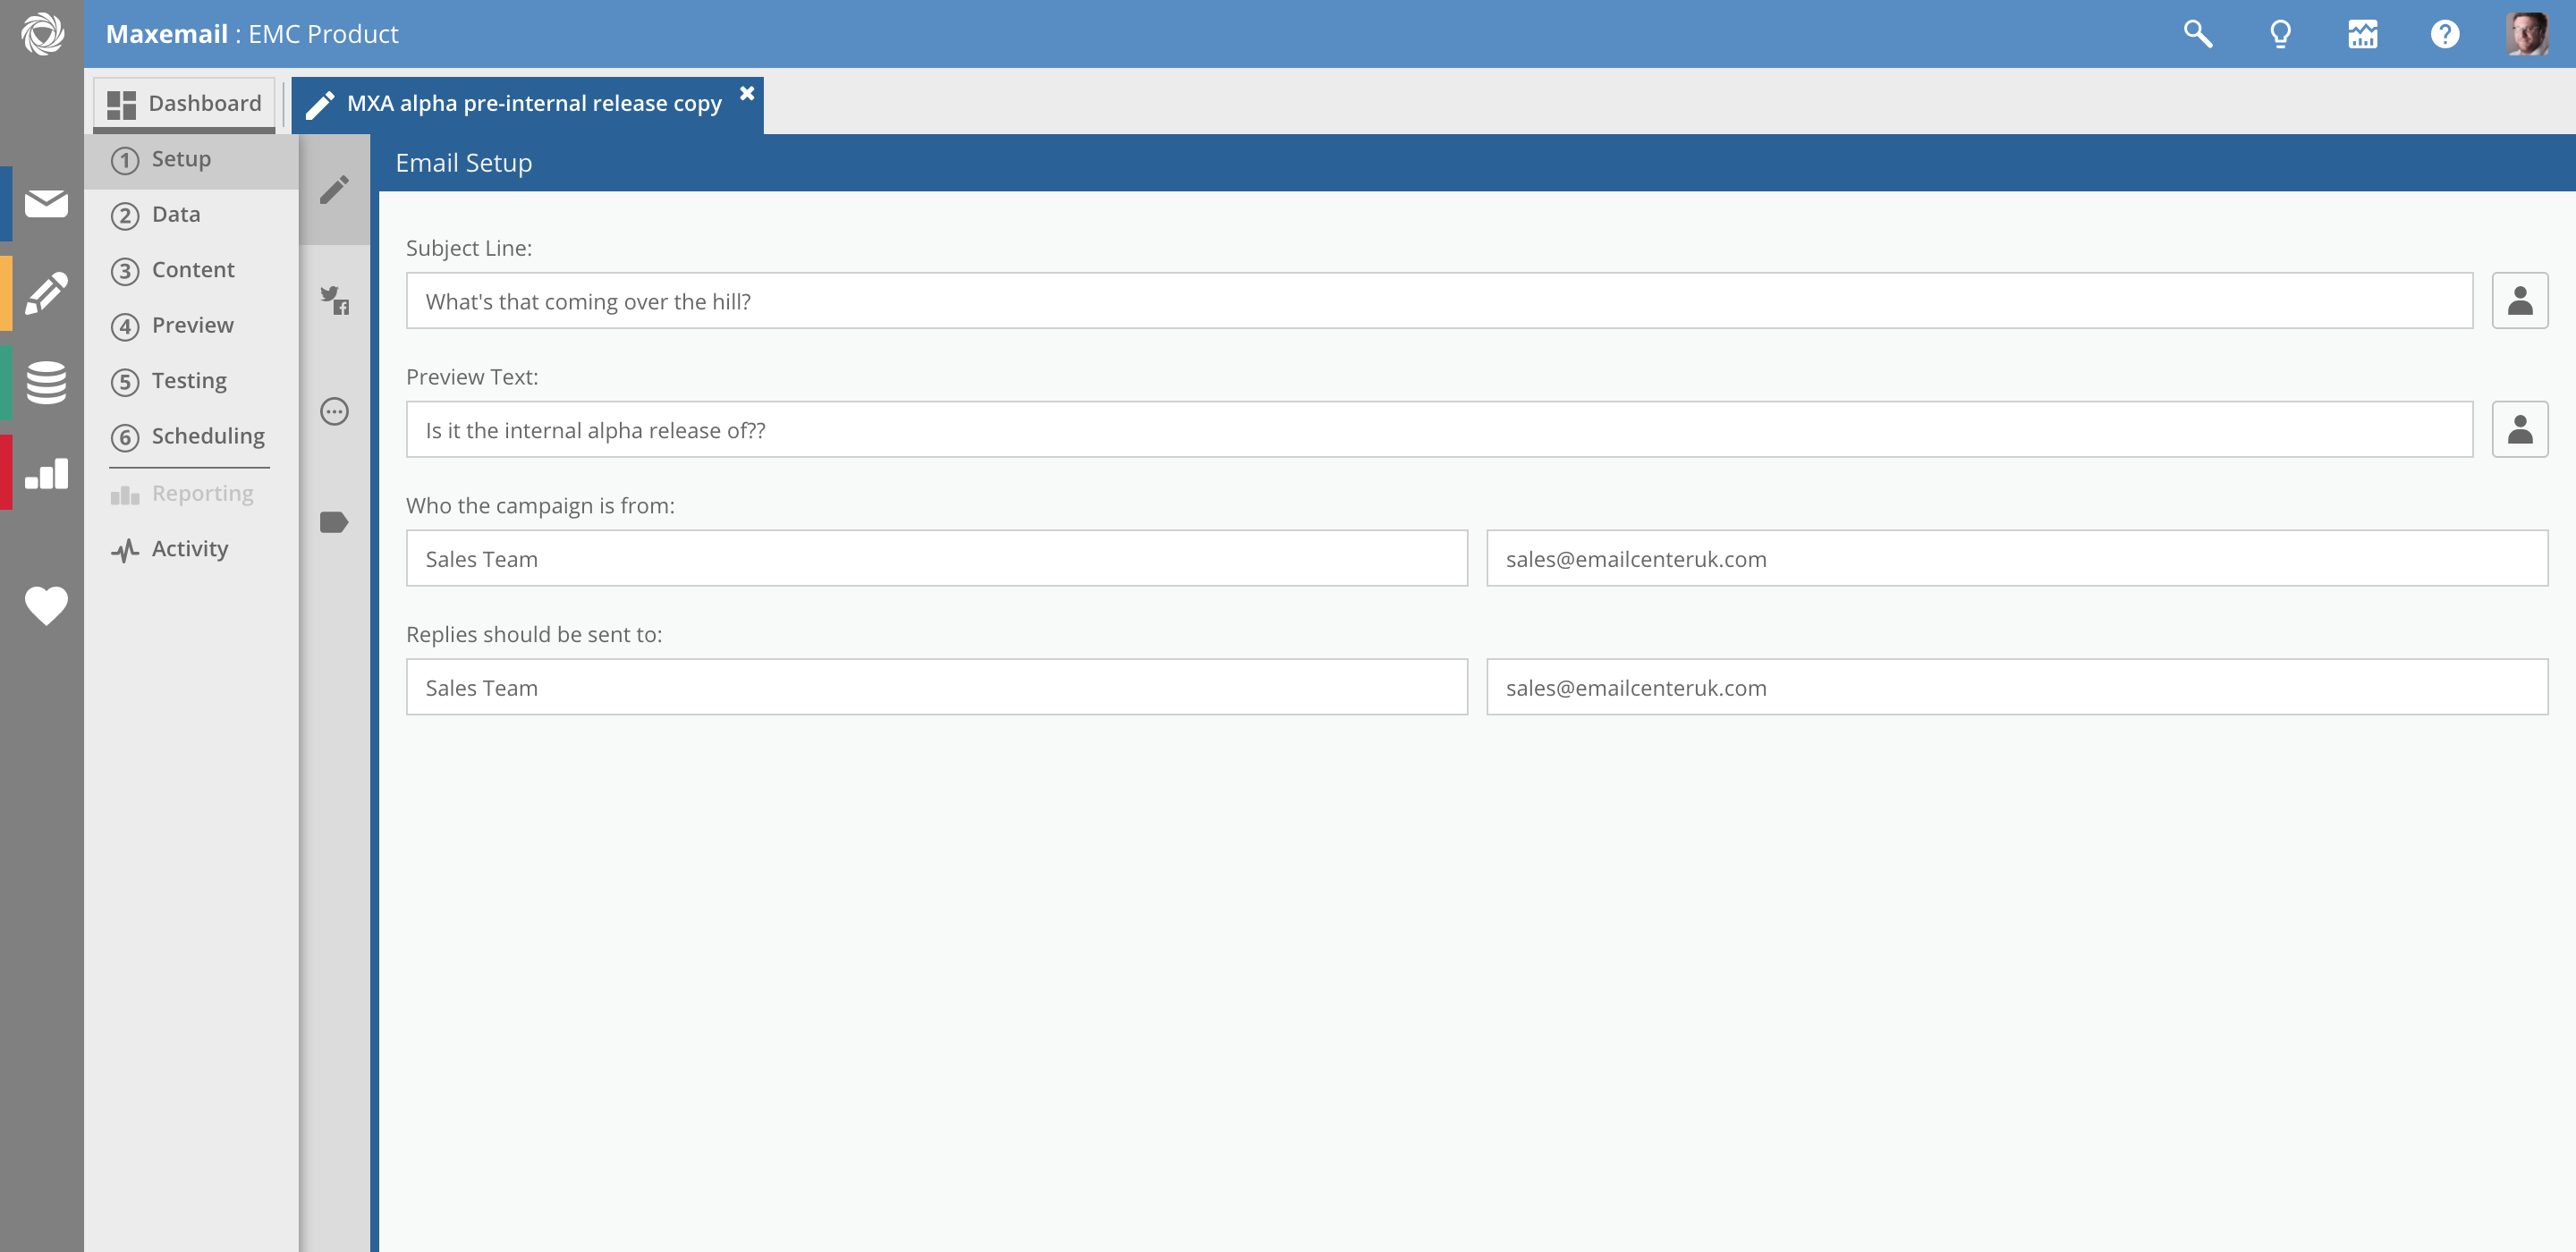
Email Setup
Subject Line – The subject line of your email.
Preview Text – This is optional text which is typically displayed underneath the from name and subject line in a subscriber's inbox. It is alternatively referred to as snippet text or a pre-header.
From Name – (optional) Enter a piece of text, a dynamic content field reference or a profile field reference. The field content will be displayed in the email recipient's inbox as the 'from' information. The use of dynamic content or merge fields allow you to use different 'from' text based on the recipient instead of one global piece of text.
From Address – (mandatory) Enter an email address, a dynamic content field reference or a profile field reference. The use of dynamic content or merge fields allow you to use a different from address based on the recipient instead of one single address.
Reply-To Name – (optional) Enter a piece of text, a dynamic content field reference or a profile field reference. The field content will be displayed when email recipient replies to your email. The use of dynamic content or merge fields allow you to use different 'Reply To' text based on the recipient instead of one global piece of text.
Reply-To Address – (optional) Enter a piece of text, a dynamic content field reference or a profile field reference. The field content will be displayed when email recipient replies to your email. The use of dynamic content or merge fields allow you to use a different 'Reply To' address based on the recipient instead of one single address.
Handling repliesMaxemail requires the domain of the from address to be pre-authorised (see Verify your from address), however it is common to use a mailbox which doesn't exist but is appropriate to the message, eg.
news@,orders@,password-reset@. This is because out-of-office replies are always sent to the from address and no-one wants to have to pick through thousands of those after sending a large campaign!When the from address does not correspond to a real mailbox, you should use a valid reply-to address. This means that any recipients who genuinely reply to your email can be handled appropriately, even if that includes using your own auto-response to direct them to a customer service centre.
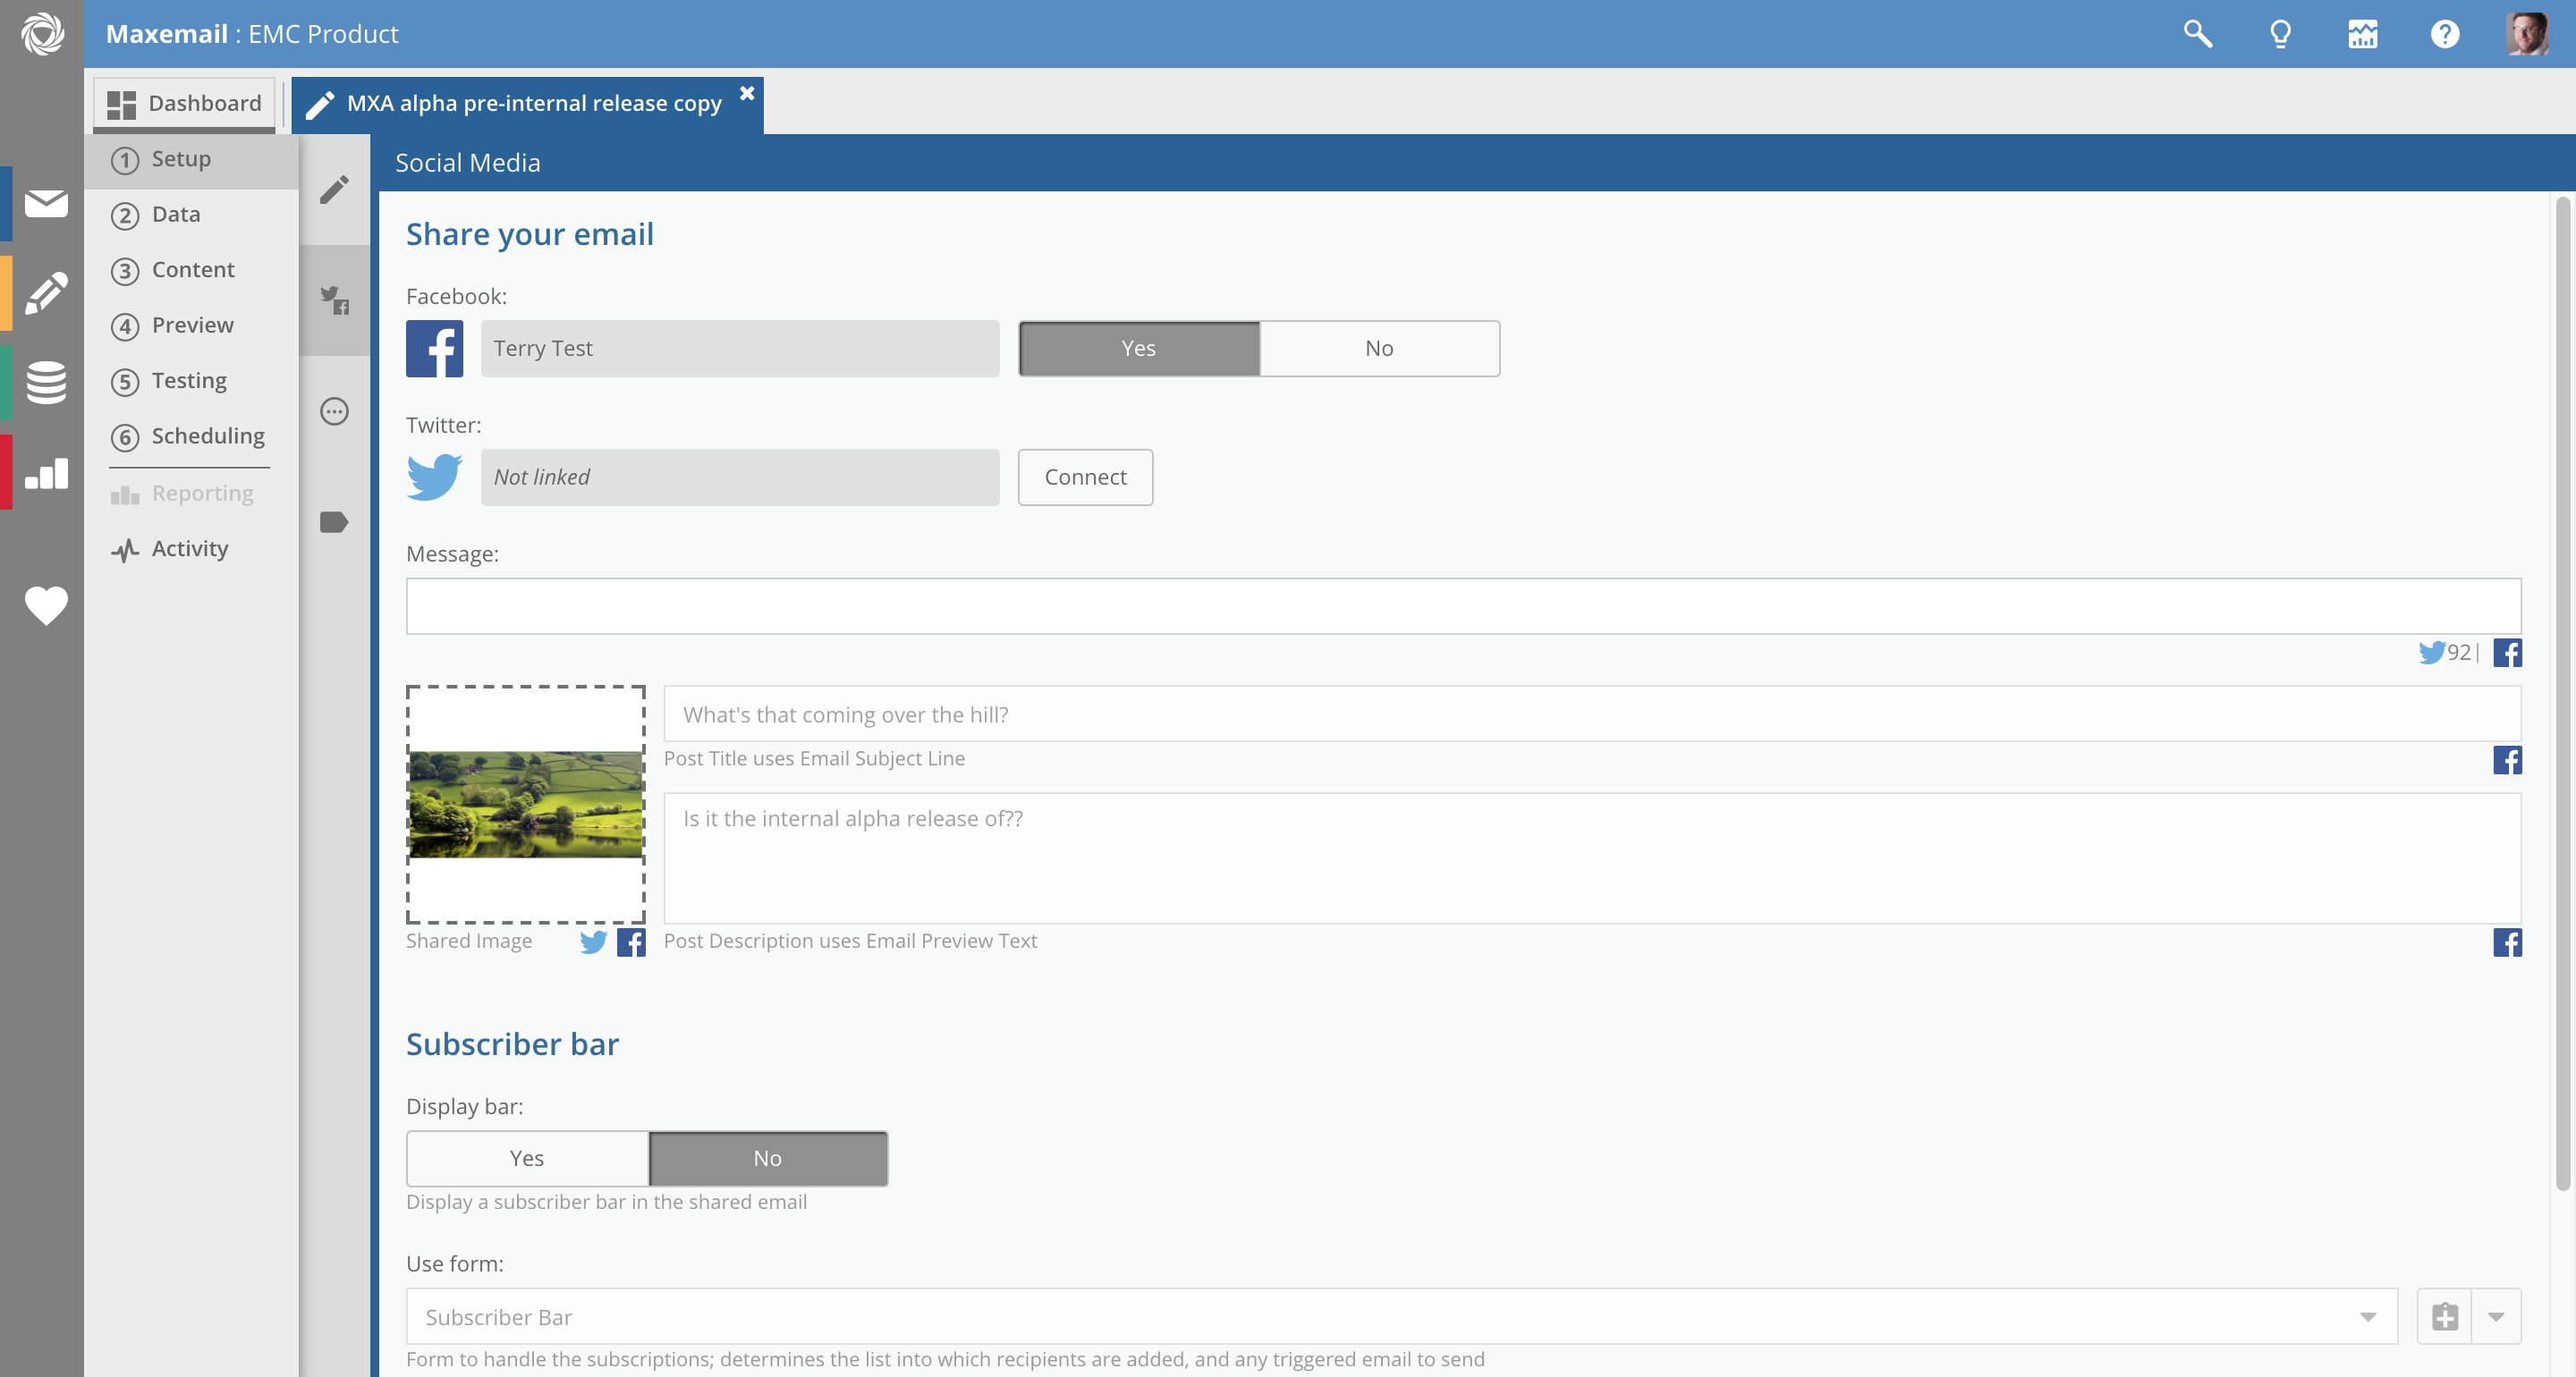
Social Media
(Not available to all accounts)
Social Platforms – Select which platform you'd like to post your email to (connect options are only available to Administrators).
Message – To accompany the post on your chosen platform
Post Title – Taken from the subject line
Post Description – Taken from the email preview text
Shared Image – Select the image you'd like to be used as the main image in the post (doesn't have to be in the email).
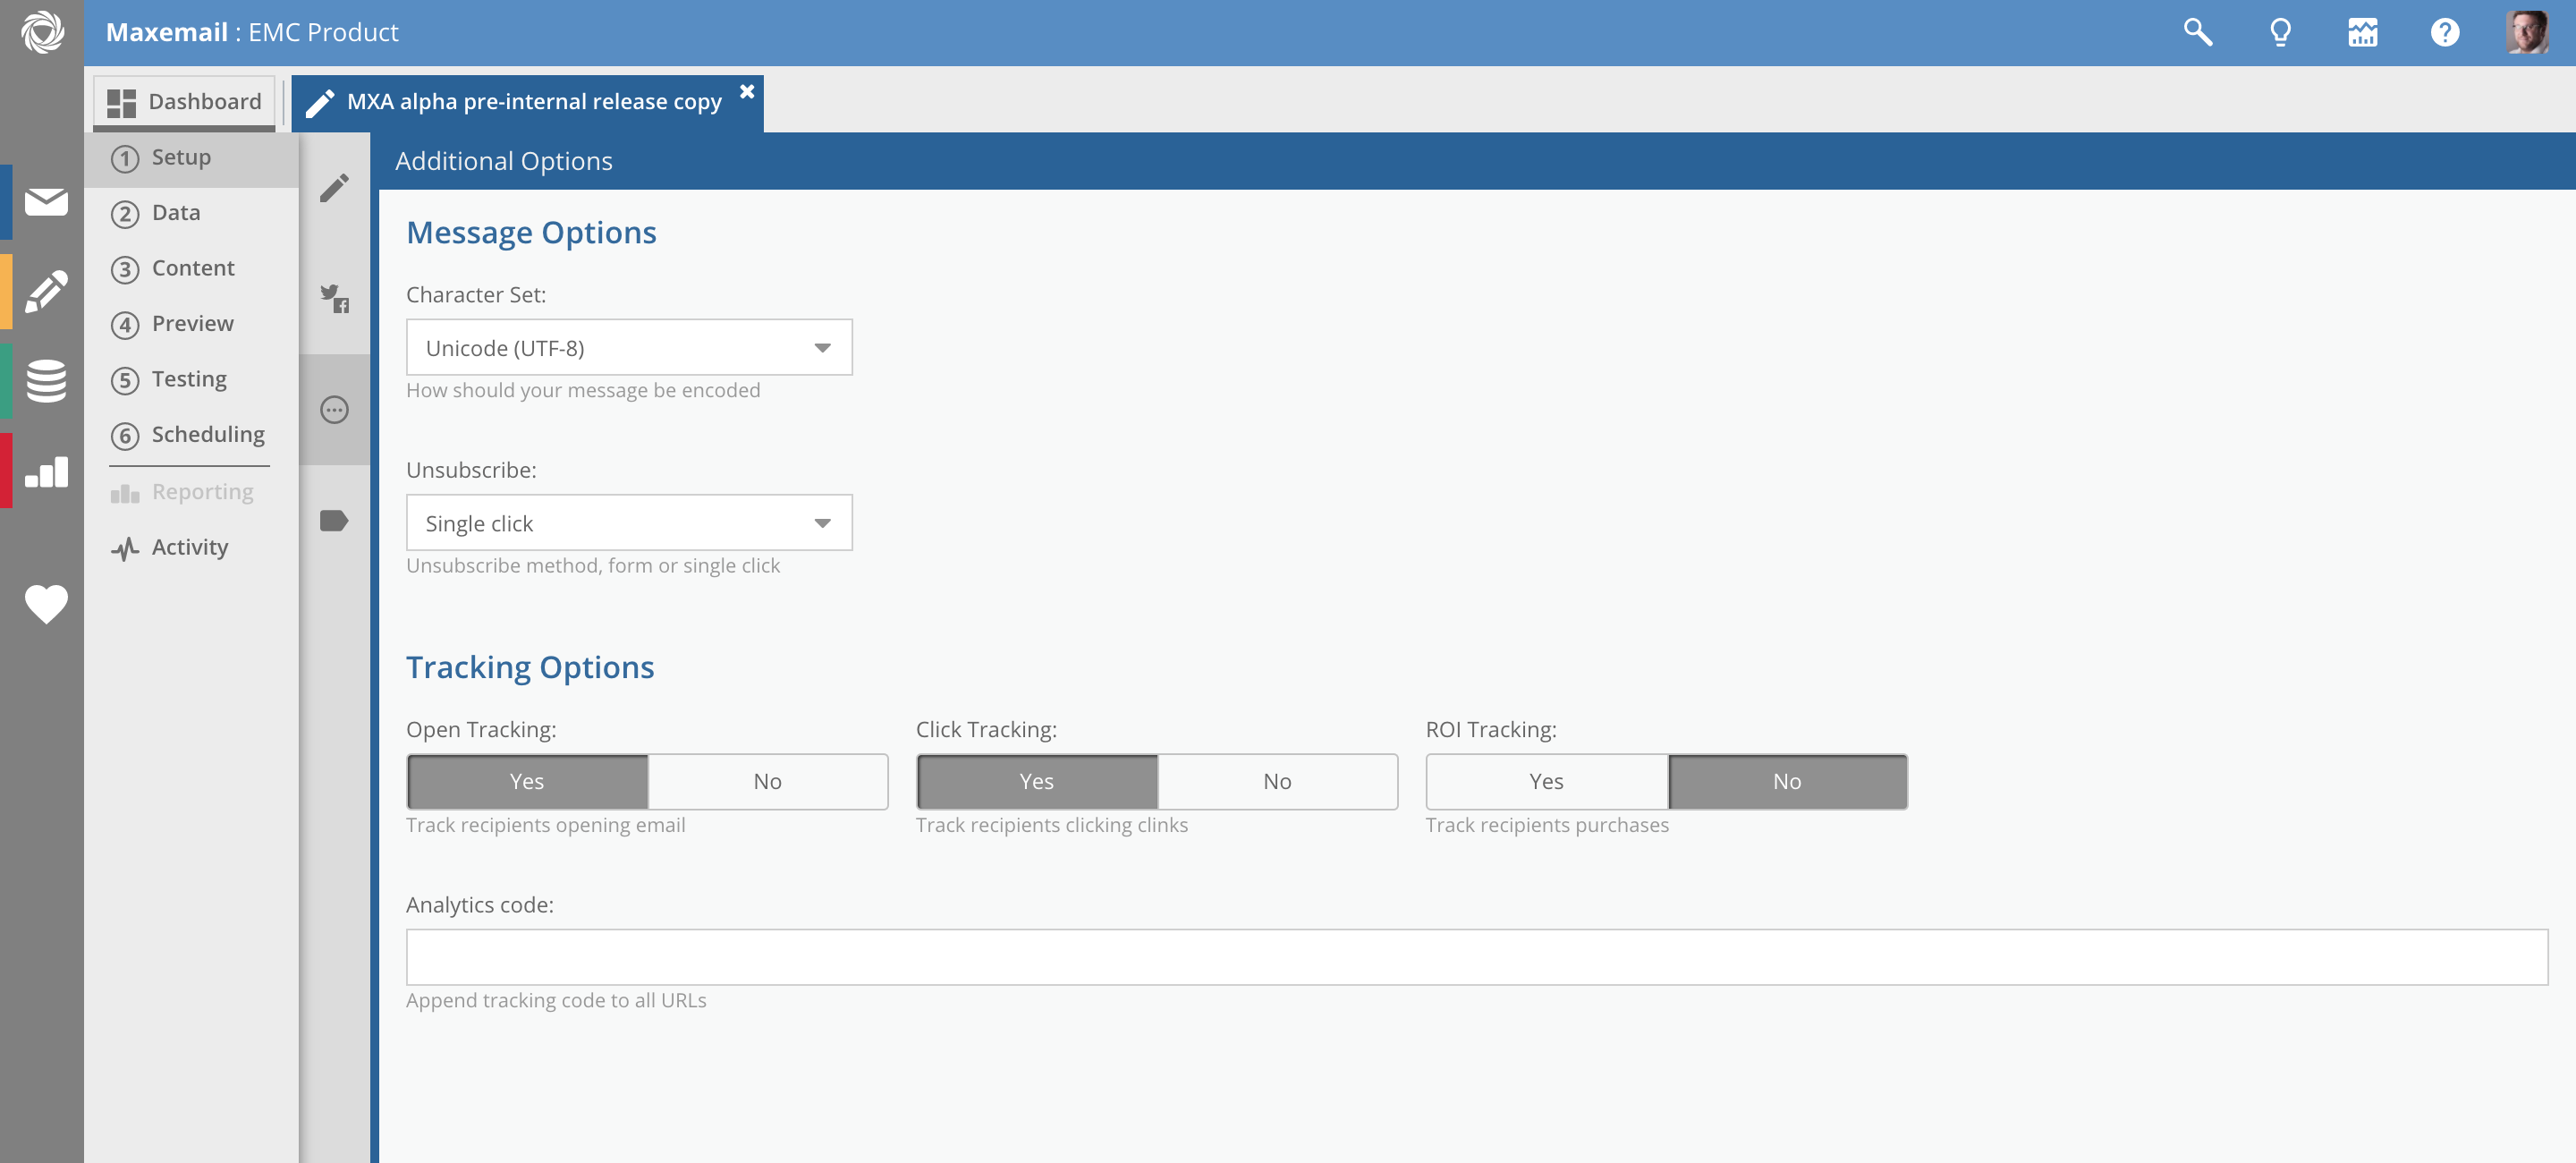
Additional Options
Message options
Character Set – The underlying character set used to encode the email
-
UTF-8 – International Unicode. Supports any language specific characters.
-
ISO-8859-1 – Western European. Supports western european specific characters.
-
ISO-8859-2 – Central European. Supports central european specific characters.
Service Message – An Email Campaign can be marked as a Service Message when appropriate. This will allow you to optionally ignore the Global Bounce List and/or Global Unsubscribe List in the Data tab, so any recipients on those lists may be sent this service message.
Avoiding SpamThe Service Message option should be used with caution.
Using Maxemail's option to disable typical spam protection does not remove your responsibility to comply with laws in the countries to which you are sending, and the terms of your agreement with Xtremepush.
You MUST NOT send marketing messages to recipients who have previously opted out or where recipients cannot choose to opt-out. Your account will be suspended if used to send spam messages.
Tracking options
Open tracking – Enable the checkbox to set open tracking on. See How Open Tracking Works for more details.
Click tracking – Enable the checkbox to set click-through tracking on. Individual links in an HTML email can be excluded from the click-through conversion process by adding the attribute mxm-notrack="true" into the anchor tag for the relevant link. Note - Non-converted links cannot be tracked. e.g:
<a href="http://www/yourlink.com/path" mxm-notrack="true">Do not track me</a>ROI tracking – Enable the checkbox to set ROI tracking on. This option is only available of you have the ROI module licence.
Analytics Code – Web analytics extensions can be added to email click-throughs. Enter the code into the input field. See Google Analytics and other tools
Updated 11 months ago